...
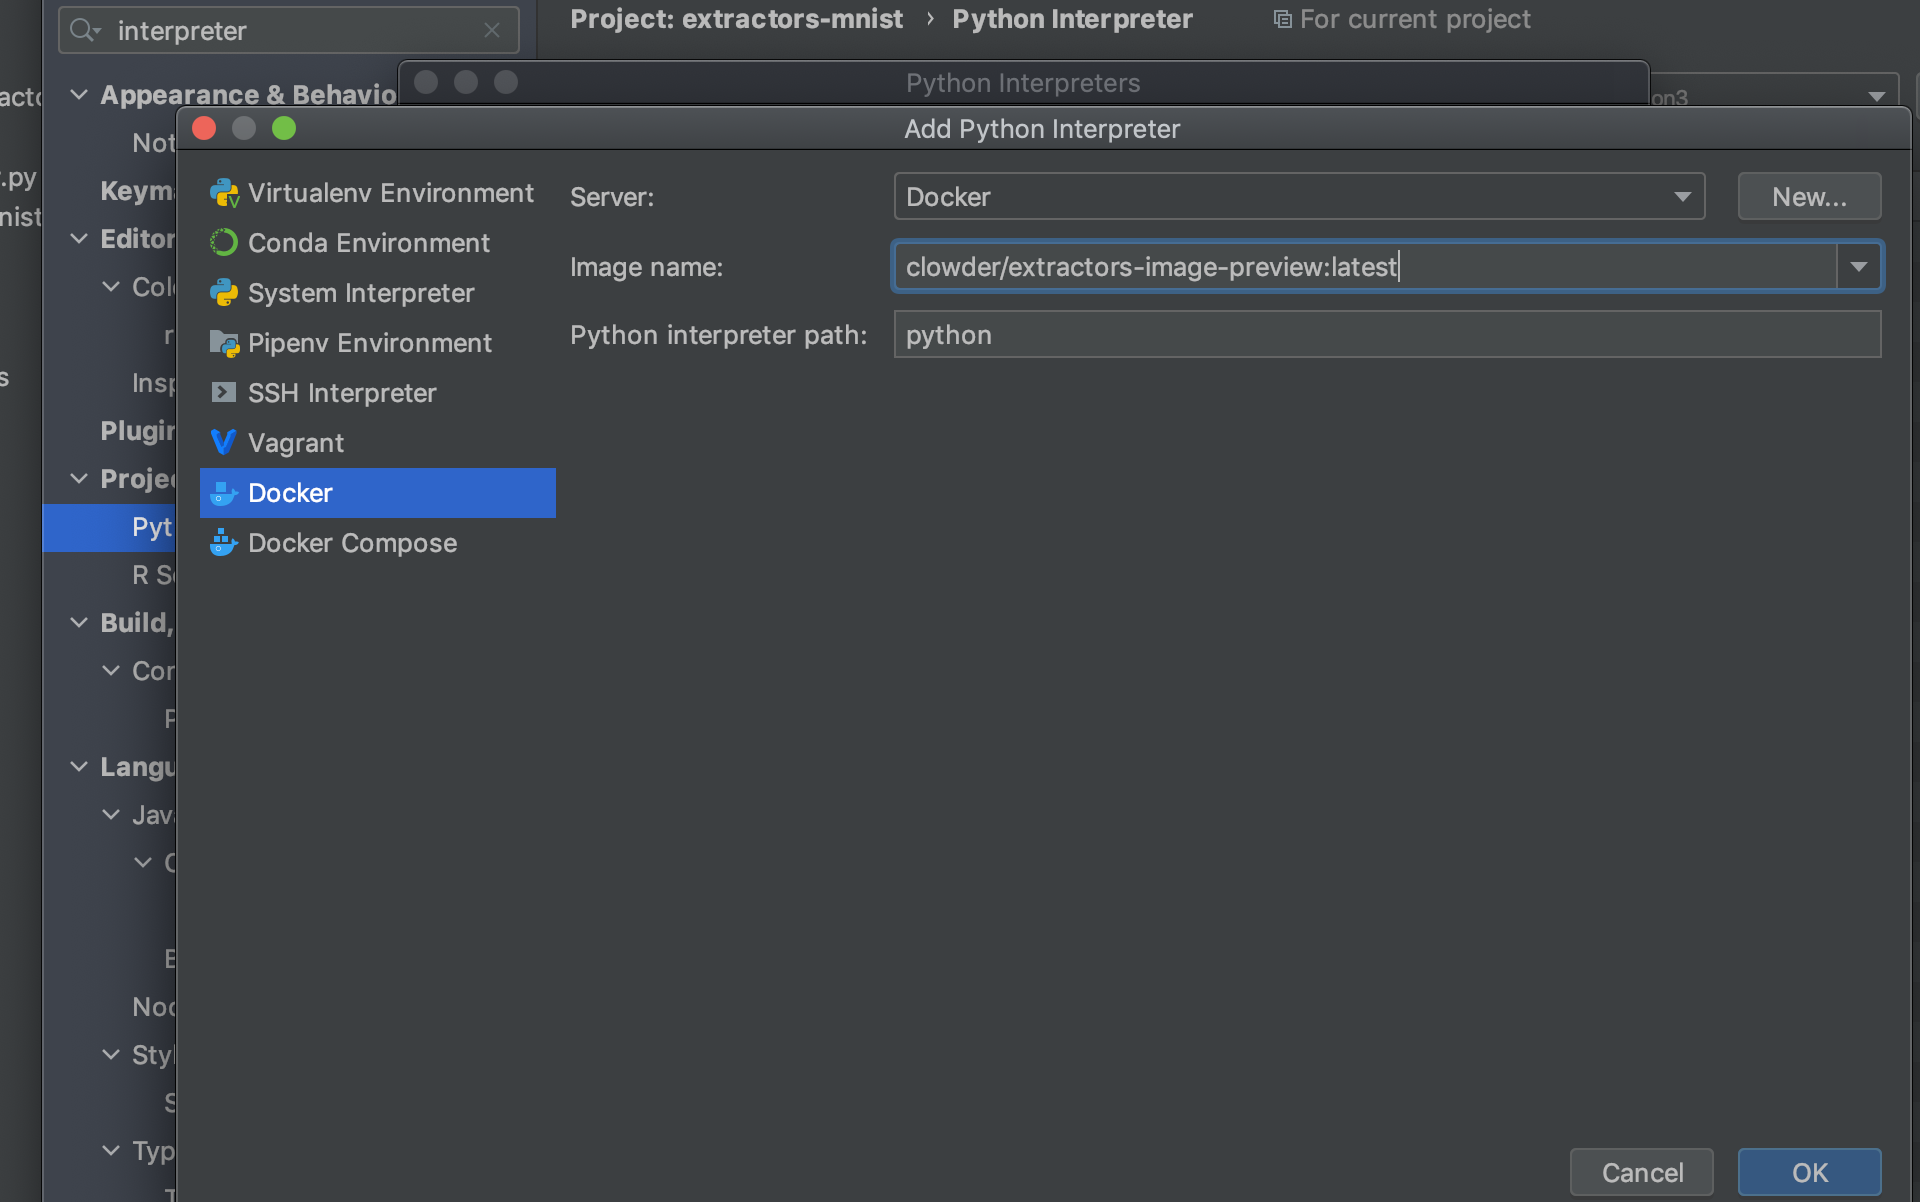
Search for Python Interpreter and select add or manage. Then select 'docker' - you will then see all docker images pulled locally and can select from among them.
When adding the run configuration, make sure to select this for the extractor.
Step 4: Modify environment variable in extractor python file.
| Code Block |
|---|
os.environ['RABBITMQ_URI'] = 'amqp://guest:guest@{your-ip-here}/%2f'
os.environ['CLOWDER_URL'] = 'http://{your-ip-here}:8000/'
os.environ['REGISTRATION_ENDPOINTS'] ='http://{your-ip-here}:8000/api/extractors?key={your-key-here}' |
Step 5: Modify value for RabbitMQ URL in clowder docker-compose file
| Code Block |
|---|
- RABBITMQ_CLOWDERURL=${RABBITMQ_CLOWDERURL:-http://{your-ip-here:8000} |
Step 6: How to run:
User docker-compose command to start clowder and its basic dependencies (mongo, rabbitmq, etc.) Once those are started, you should be able to run the extractor in PyCharm, in either run or debug mode. Note that running in docker may affect what the extractor considers the current working directory and path to files.
Step 7: If you want to modify the docker image
If you modify and build a new Docker image, make sure to REMOVE it from the Python Interpreters in PyCharm, and then add it again. This will make sure it refreshes.