Signing Up
There are 2 ways to login to Clowder. Through a third party application or a local account.
Signing Up with a Third Party App
The first one is to use a third-party network, like google, crowd, facebook, twitter, linkedin. They are enabled in some instances on Clowder, and you can ask your Clowder administrator to enable them if they are not.
You need to go to your clowder instance, for example: https://clowder-dev.ncsa.illinois.edu/clowder
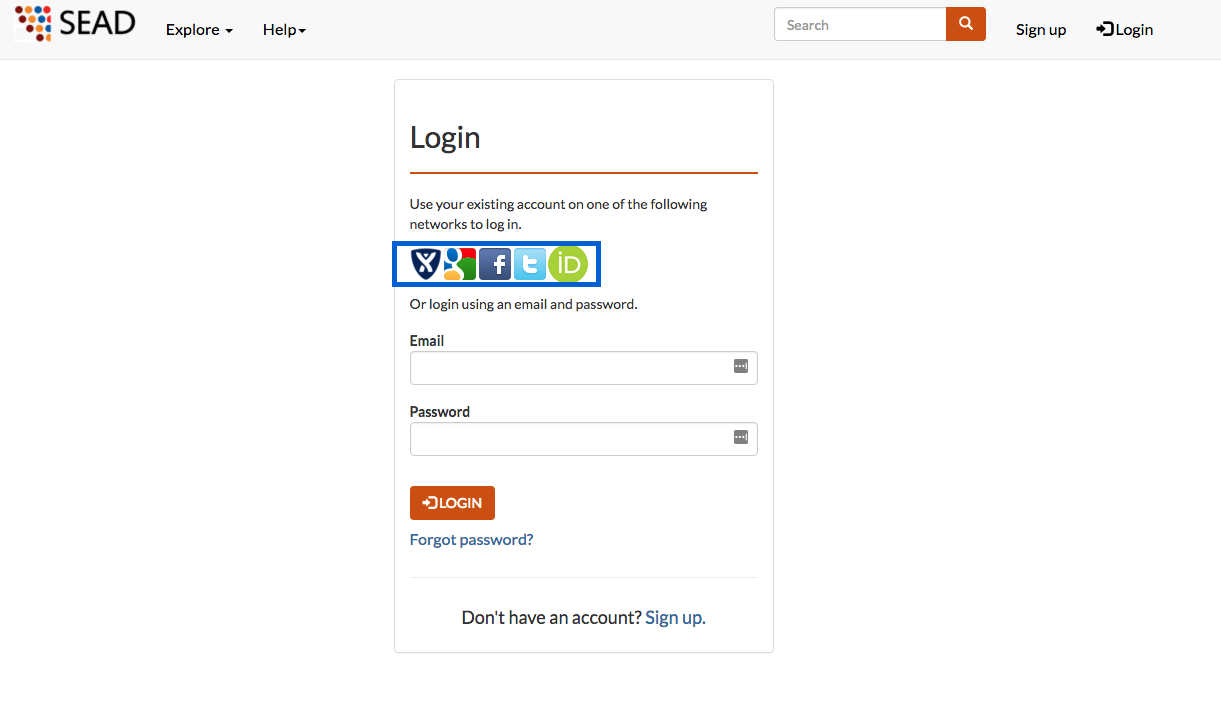
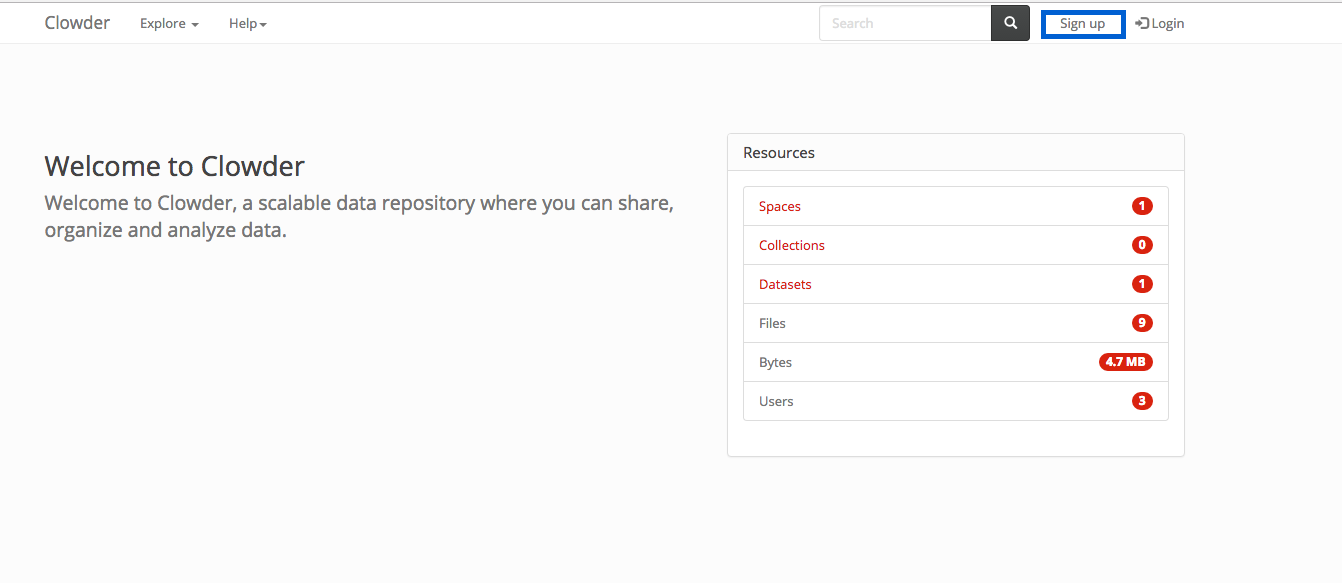
If you want to login using this method, you can click on the Login button in the top-left corner as marked by a green square on Figure 1.

After that, you can click on the icon of the third party app you want to login with. I will use google as an example, but the process is similar for all the 3rd party libraries.
After clicking on the Google link, it will ask you to login for your google account, and on the first time it will ask you for permissions to get your name and email from the google account.
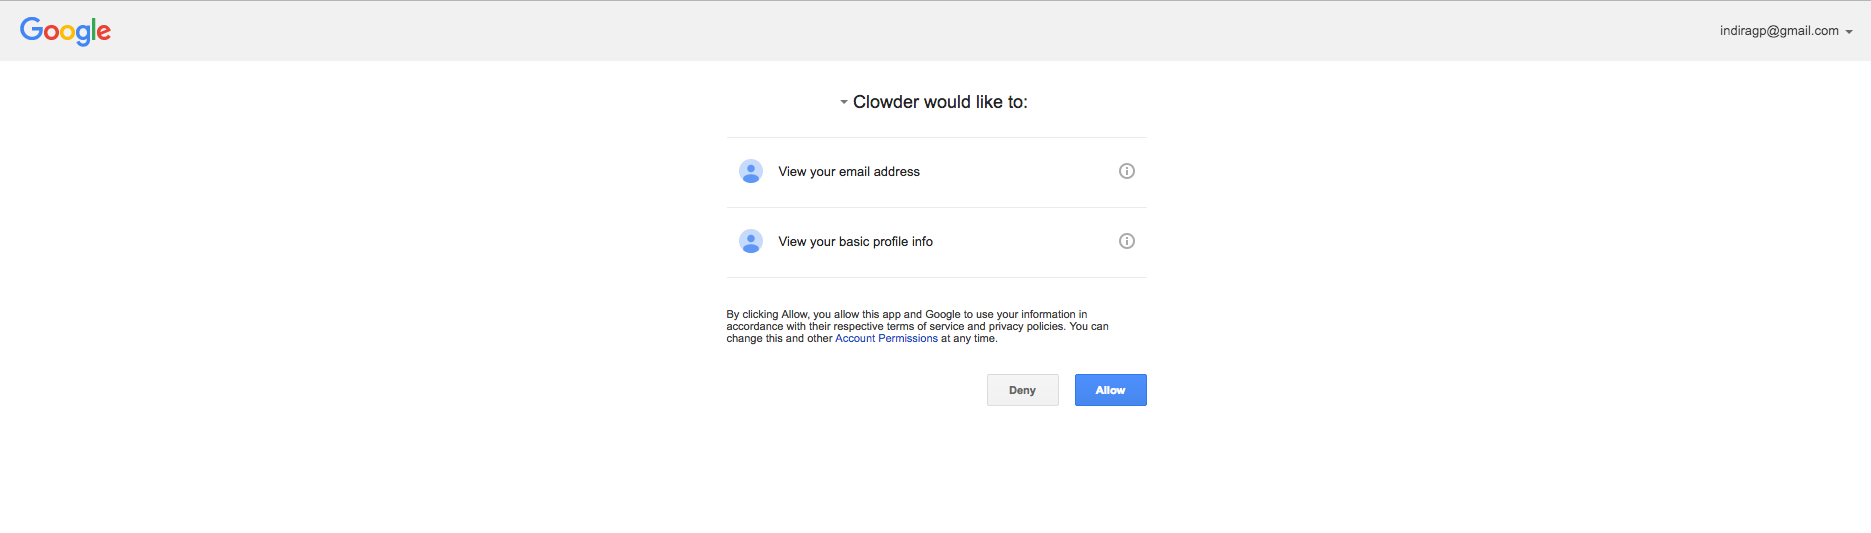
After you click on the Allow button, you will be redirected to the Terms of Service page. Which you must accept before getting access to Clowder.
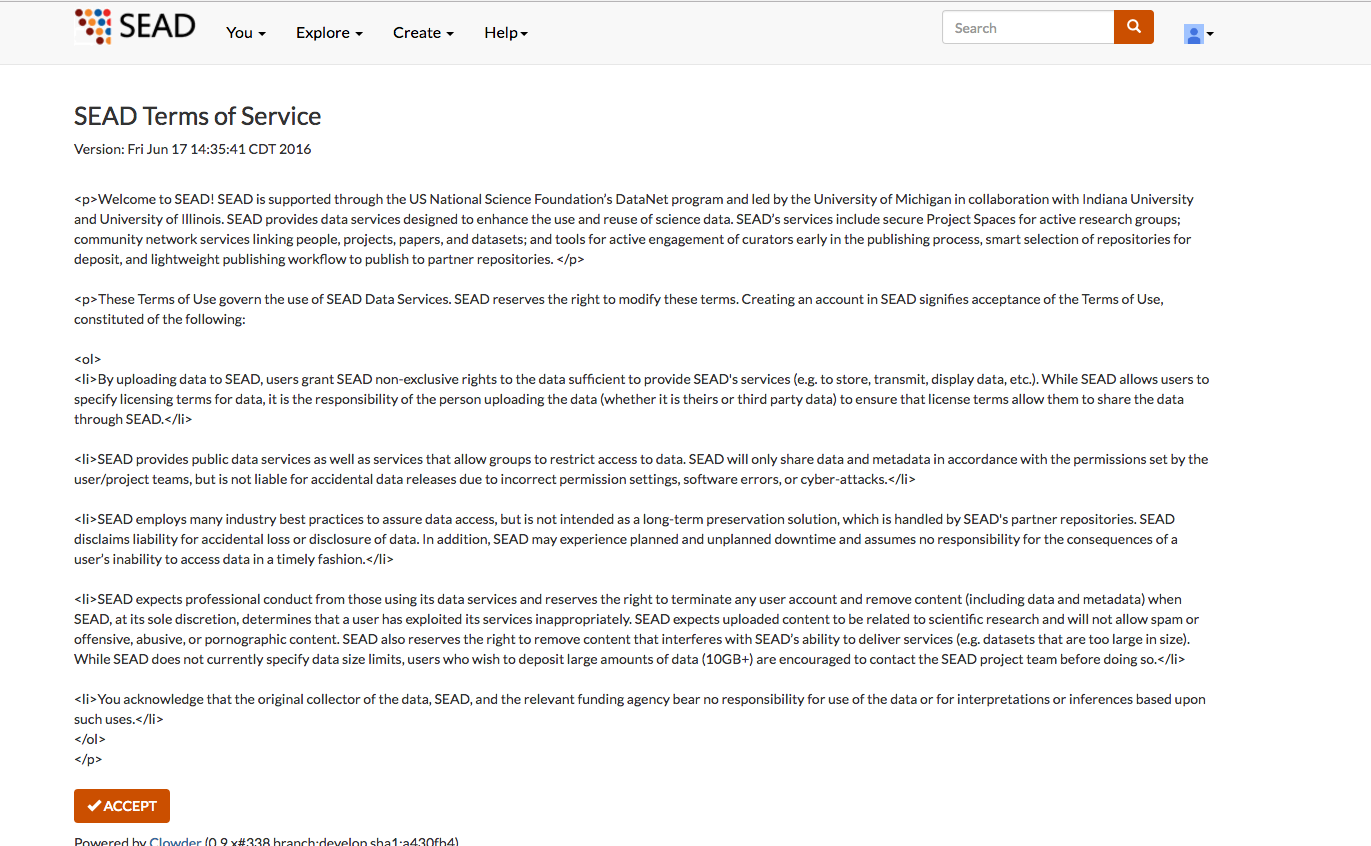
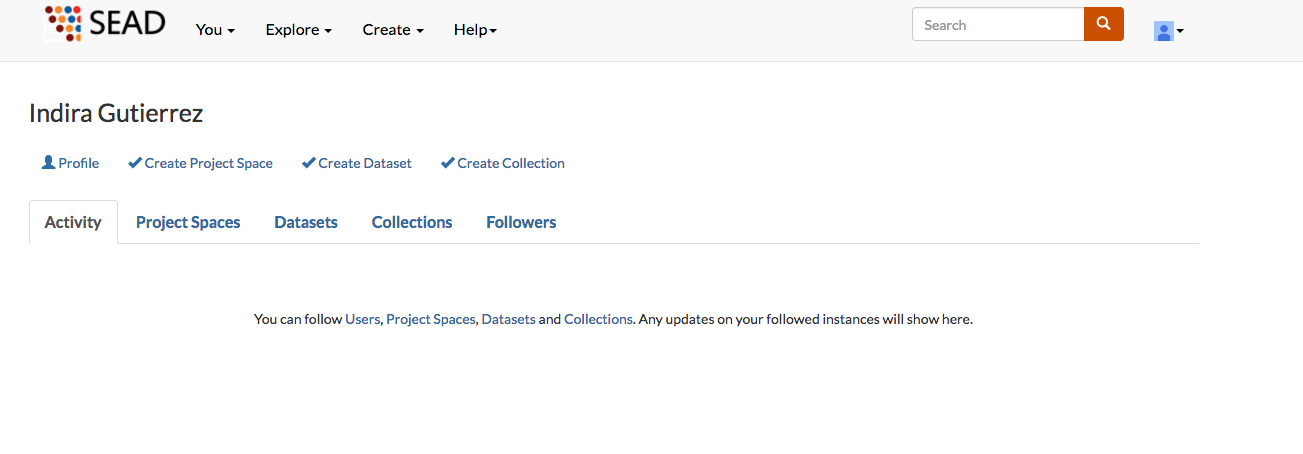
After accepting the terms of service, you will be redirected to the Clowder Home Page.
Signing up through a Local Account
Click on the highlighted link in blue in your Clowder instance (https://clowder-dev.ncsa.illinois.edu/clowder)
It will ask you for your email
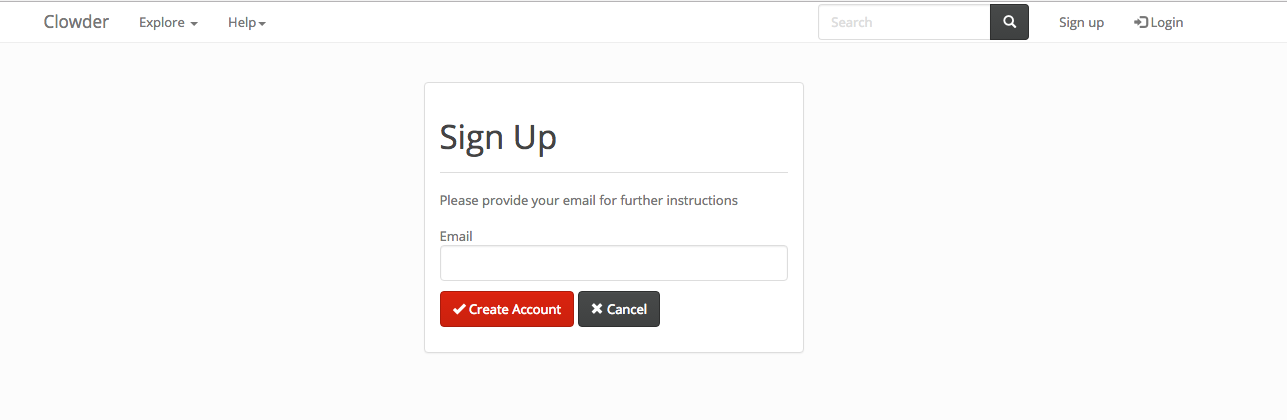
After you input your email and click on create an account, you will receive an email with instructions to continue the signup process

After clicking on the link you will get redirected to the sign up page
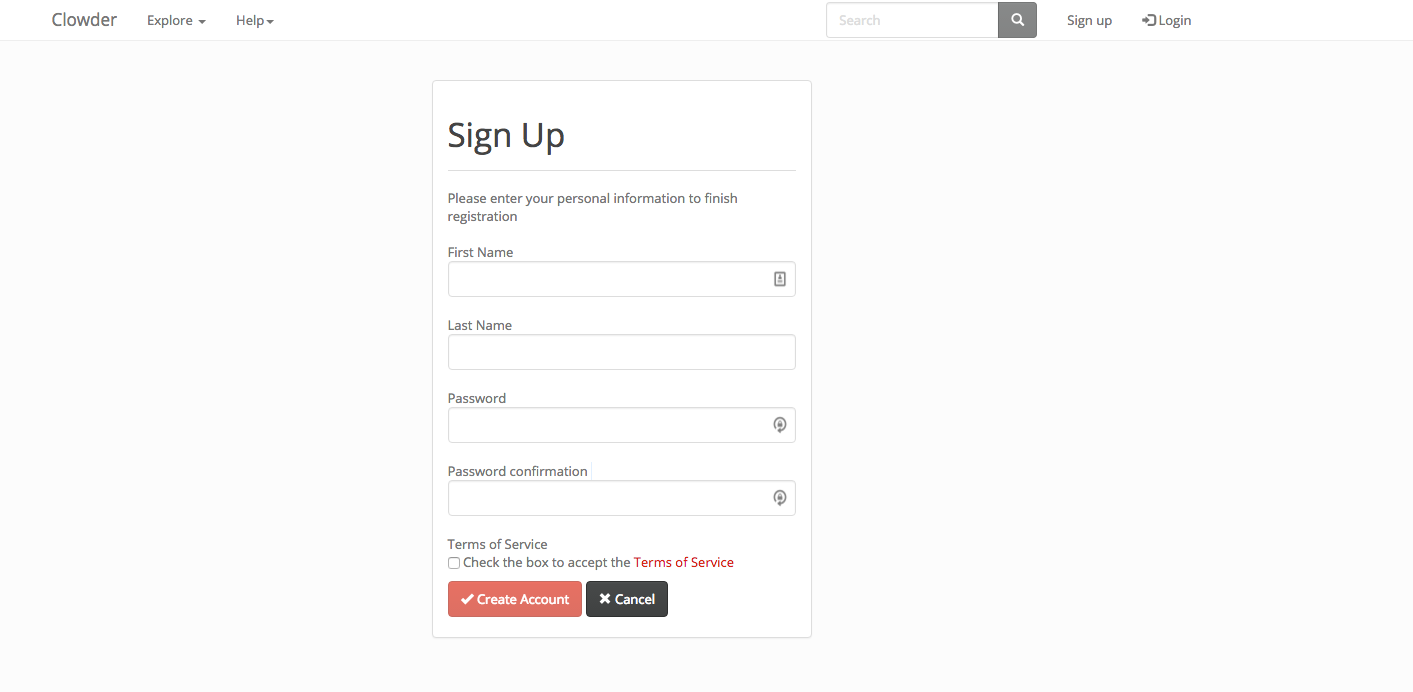
After input your information, and desired password you can login with your email and password used in the step above
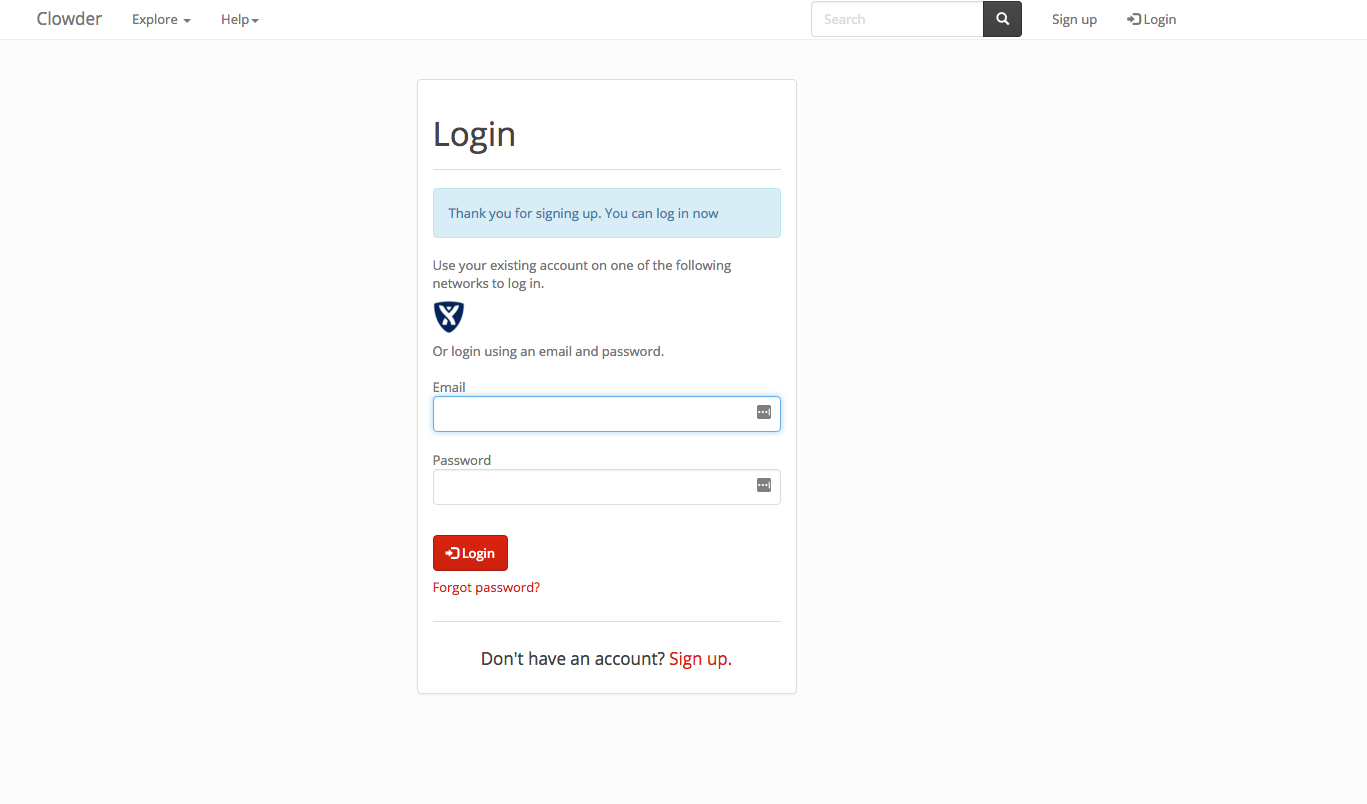
And you can login to Clowder
Note: Some instances require users to be approved before being able to use clowder.
Spaces
Creating a Space
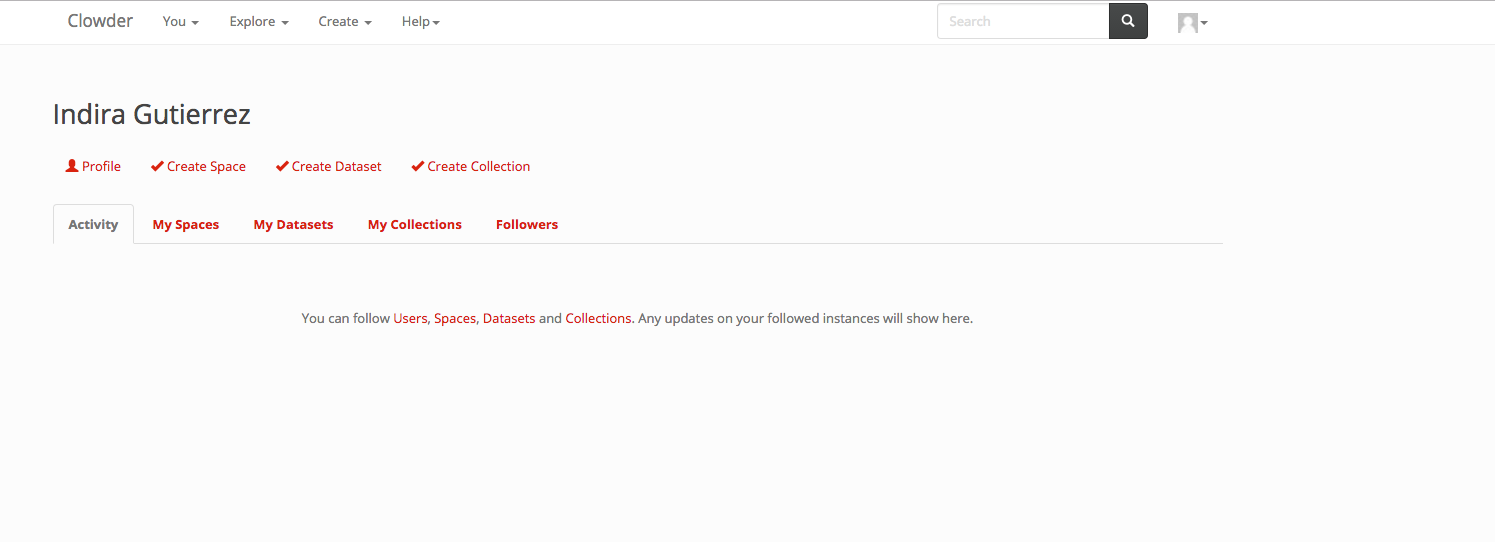
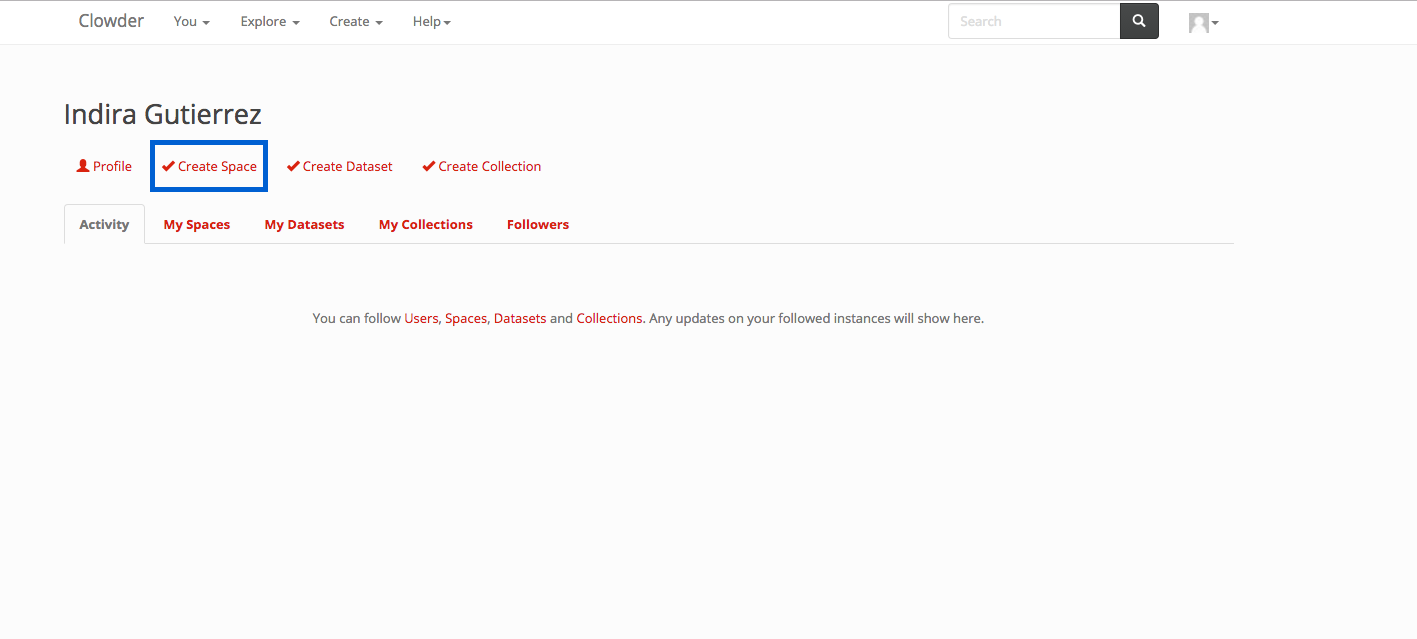
You can create a space from your home page, by clicking on the button in the blue box below
Or using the create dialog in the top navigation. Click on the Create dropdown in the top navigation (in blue on the image below) And then select Spaces (in green in the image below)

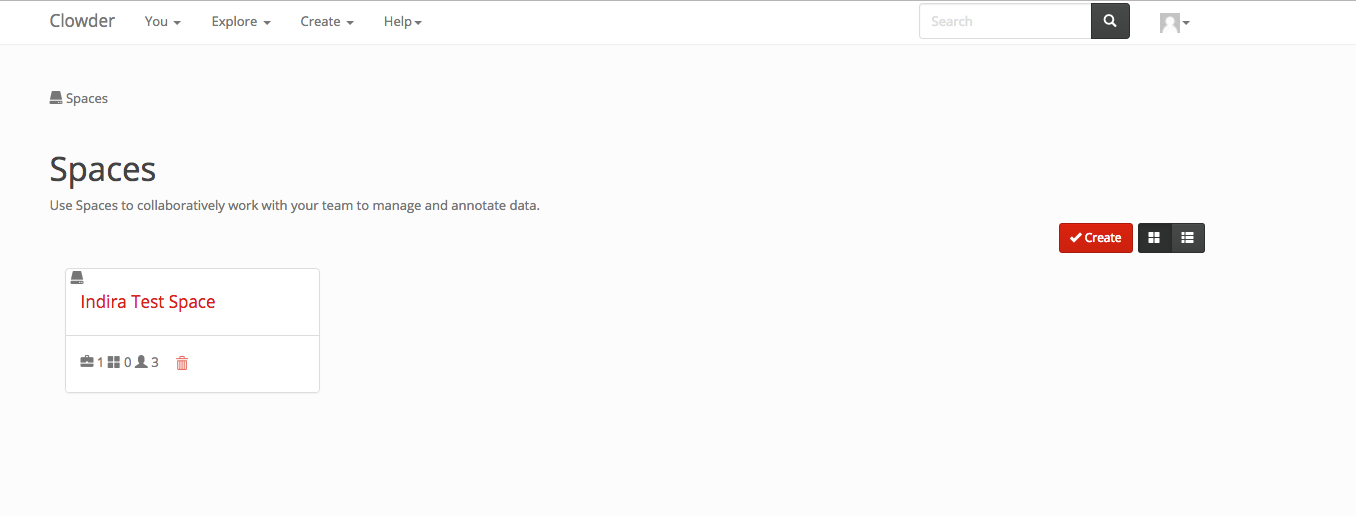
Or within the space list page. Click on the Create button in the top right of the page. (The list spaces page is accessed by clicking on Explore > Spaces)
After starting the create process by either of the 3 methods above you can start creating your space by filling up the information in the next figure (The only required field is the name).

You click on the create button at the end of the page and are then redirected to the space page.
Editing a Space
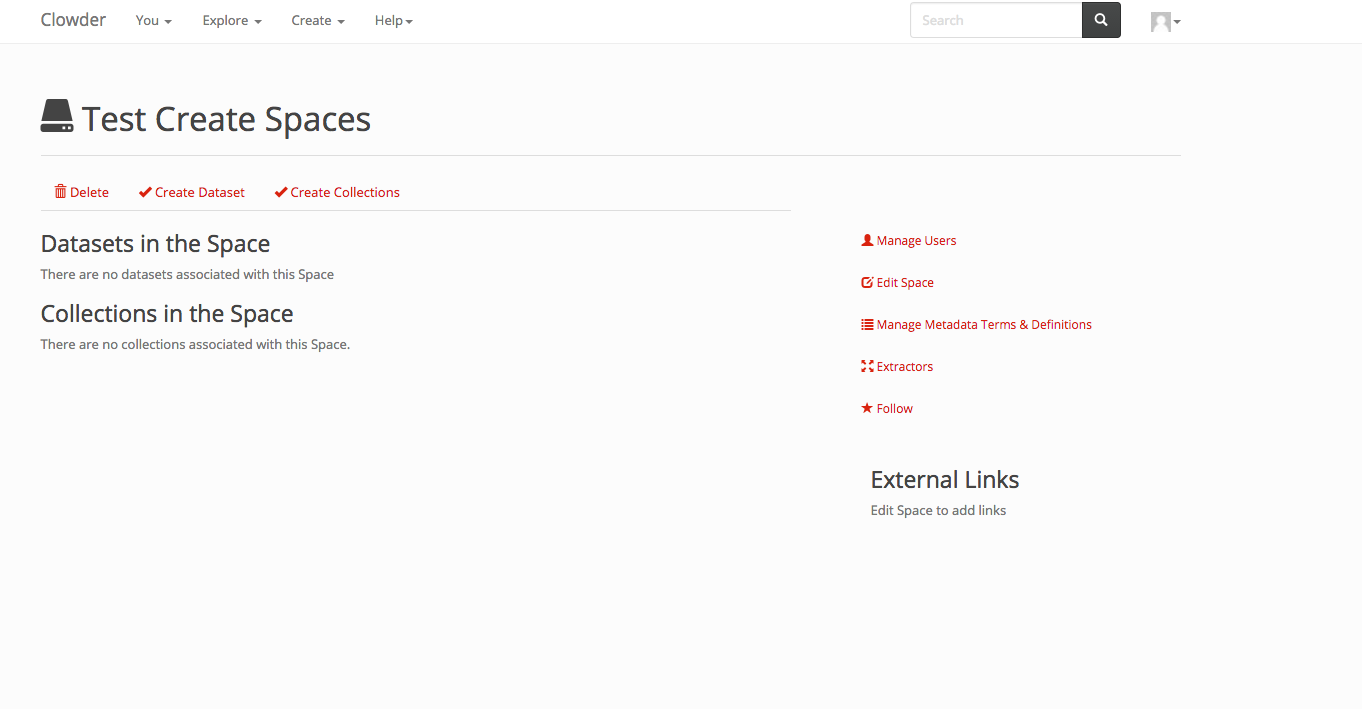
You can edit the name, description, external links, logo and banner for your space at any time. To do so, click on the Edit Space button highlighted in blue in the figure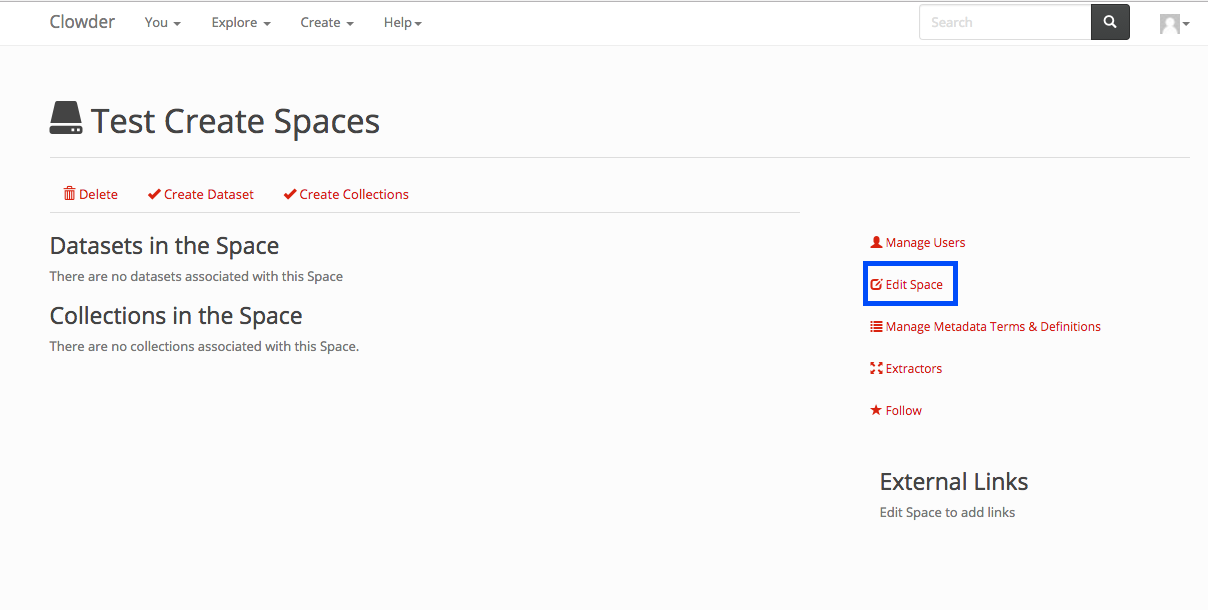
Then you can edit the values and click on the update button in the bottom.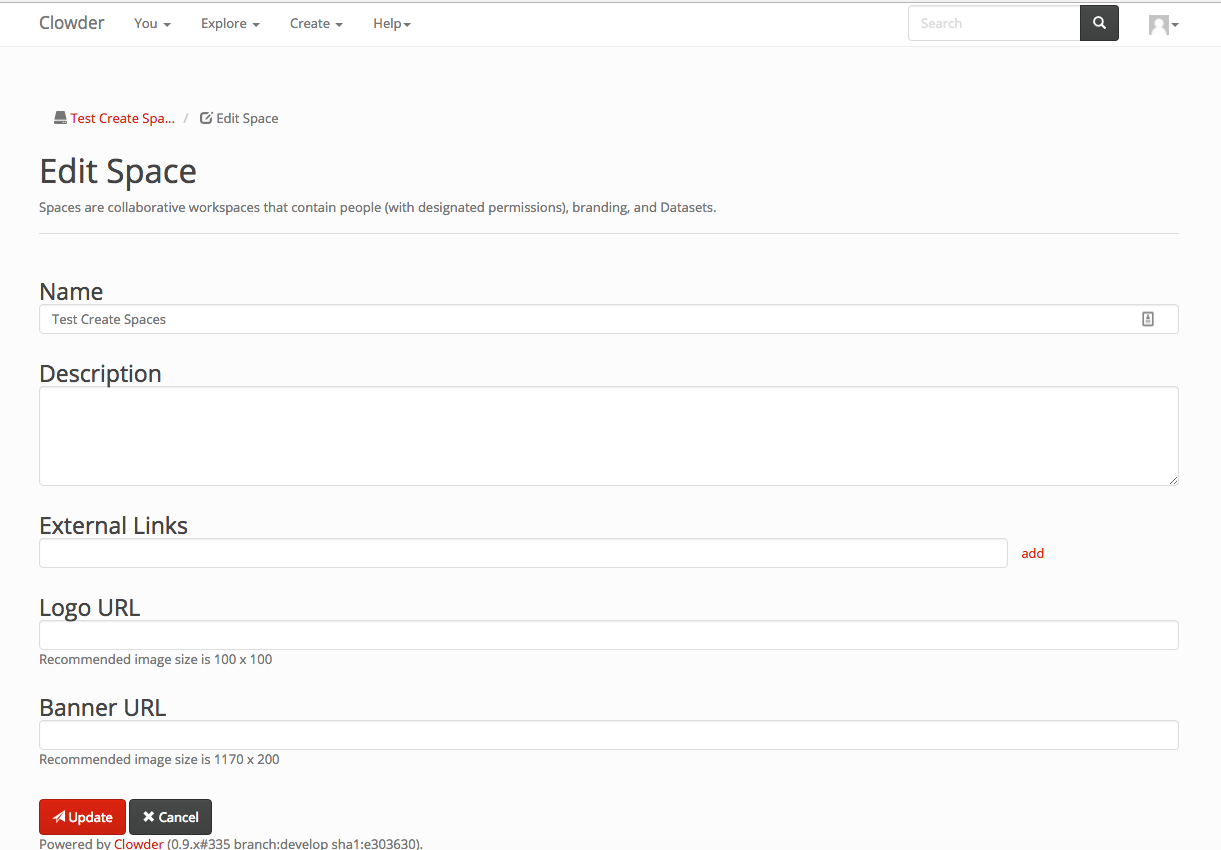
- About Permissions
- About the Home Page
- Spaces
- Creating
- List
- Editing
- Deleting
- Inviting Users
- Requesting Access
- Creating
- Datasets
- Creating
- Adding Files
- Creating Folders
- Moving Files
- Adding to a space
- Moving from a space
- Copying to a space
- Adding Metadata
- Collections
- Creating
- Adding datasets
- Creating Child Collections
- About Extractors