Installation and Setup:
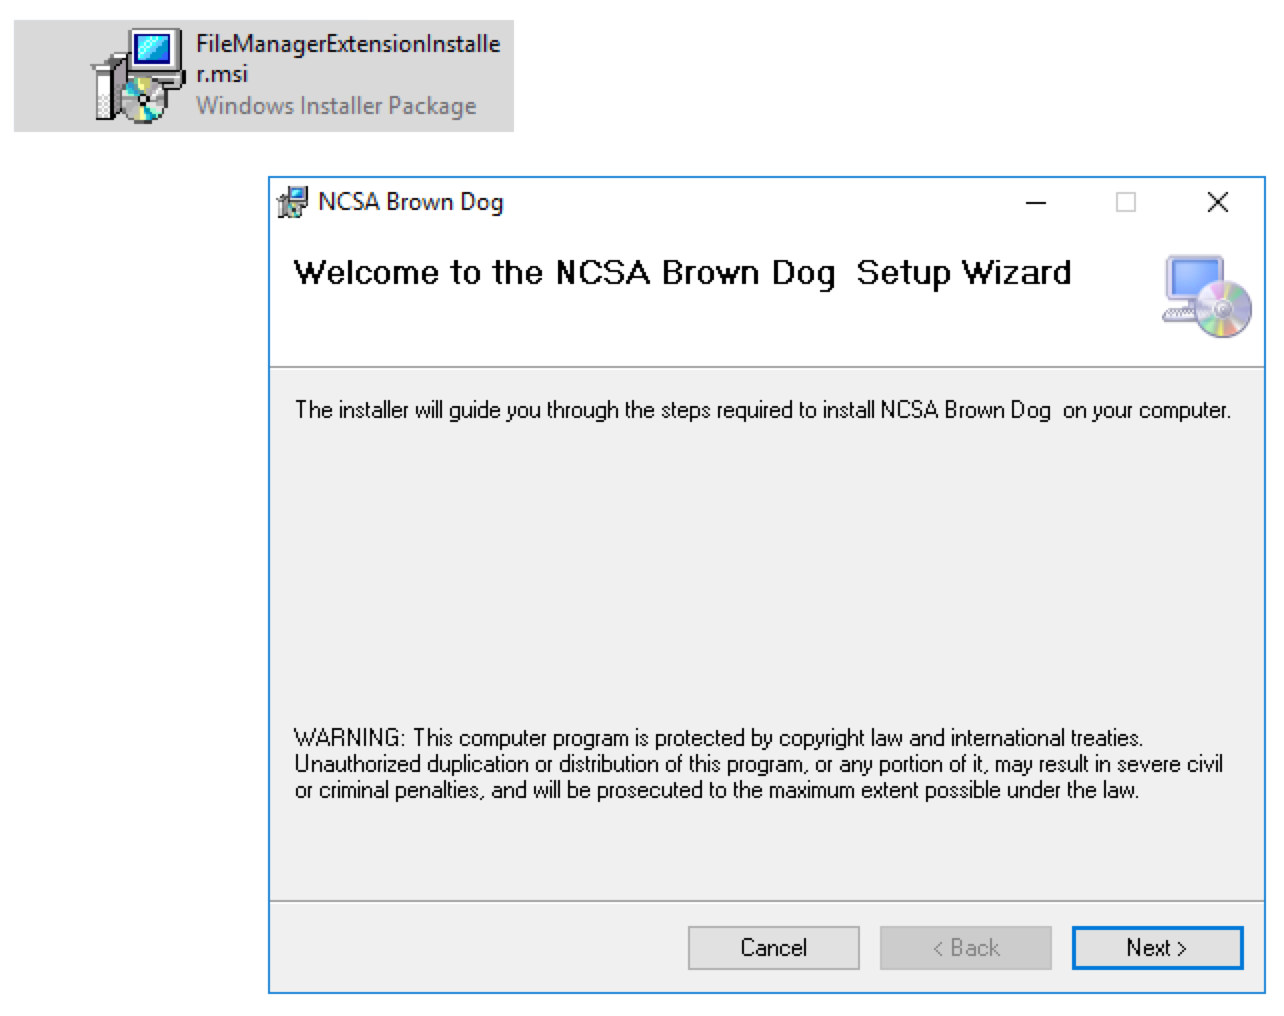
Users can go to Brown Dog Clients to download BD windows Client Installer and install it on Windows (7, 10).
After installation, user has to setup browndog gateway server and username/passwd.
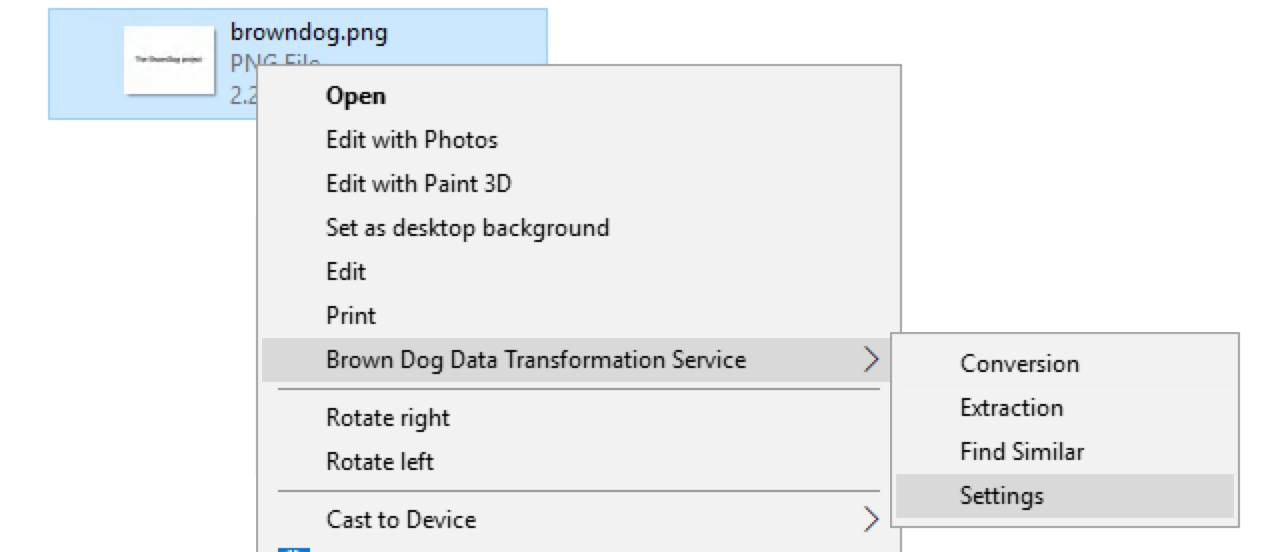
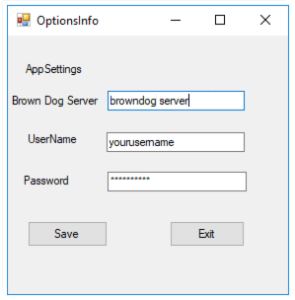
For example, in above figures, user right click a file and select ``Settings'' from popping up menu. In App Setting dialog box, user will enter information of browndog server and username/passwd and click ``Save'' button.
Conversion:
BD Windows Client makes it very easy and comfortable to convert a file from its format to any supported convertible format on BrownDog Server.
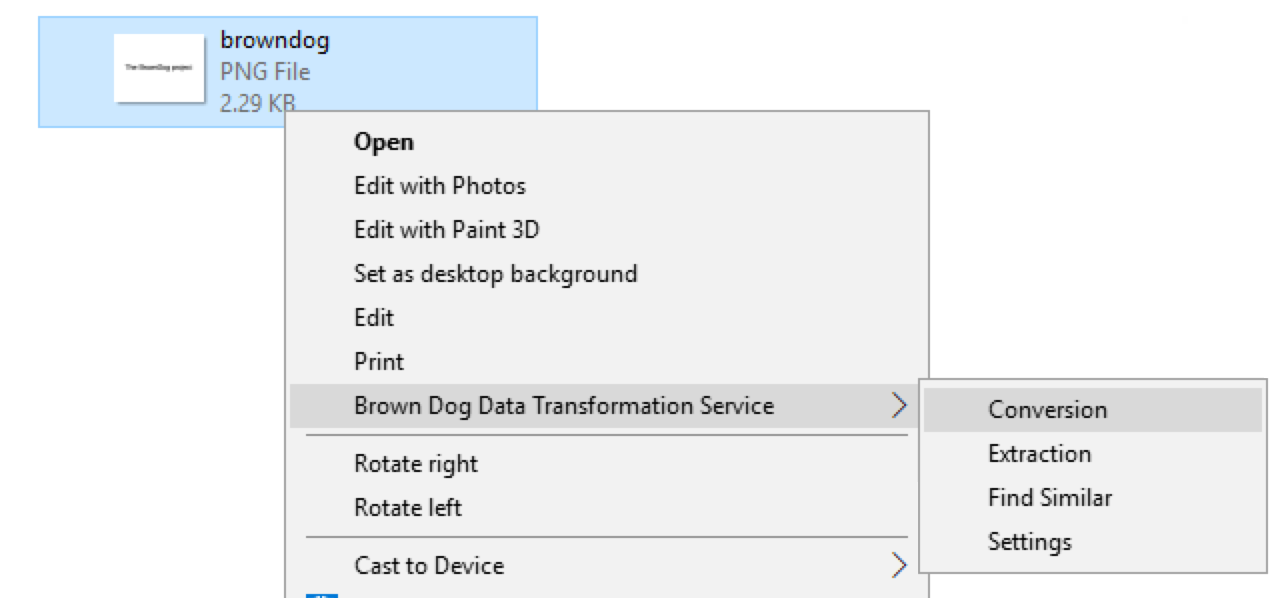
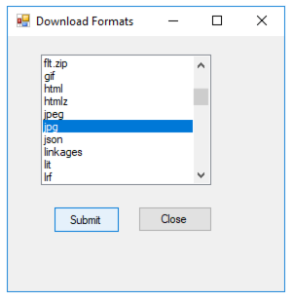
User can browse a file via Windows Explorer and execute conversion on the file by right clicking it and selecting ``Conversion'' from pop-up menu (left figure). And then user can look up and select an output format of interest from the list of supported convertible formats in the popping up dialog box (right figure).

Above figures show how users execute conversion between .png format file to .jpg format file. Right after completion of running conversion on file ``browndog.png'', the converted output will be written as ``browndog.jpg'' in the same working directory.
Folder Conversion:
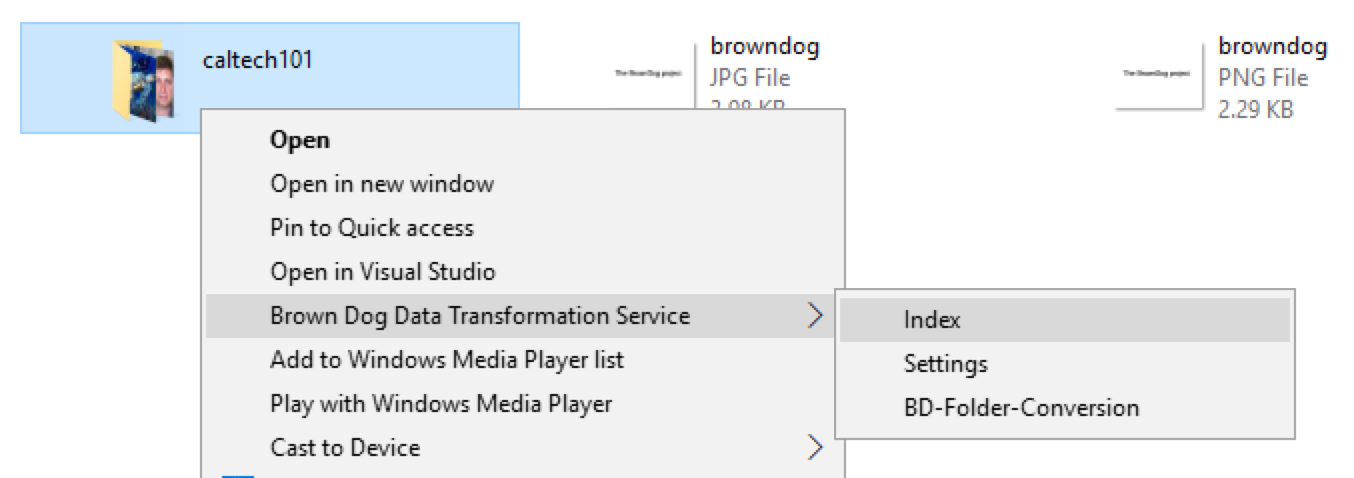
This Windows Client provides batch conversion on files. User does not have to select each individual file and repeat executing conversion from GUI manually. User can convert the same format of files to a convertible format by ``One Click''.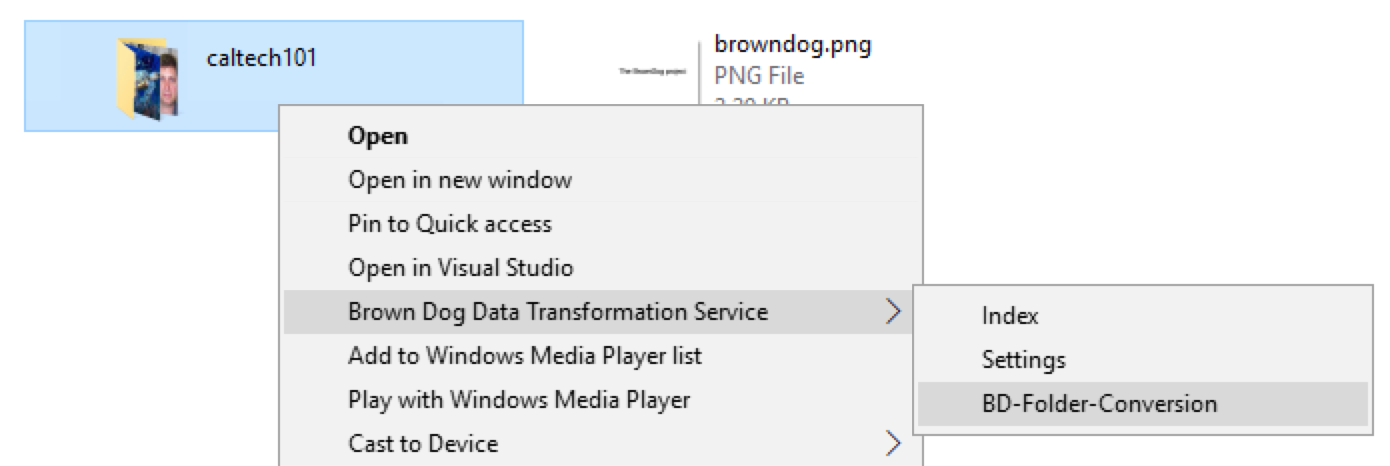
For example, a folder named ``caltech101'' contains multiple .jpg image files. User can right click this folder and select ``BD-Folder-Conversion'', then pick a convertible output format ``BMP'' to submit for conversion. A random name folder containing output converted files will be generated inside ``caltech101'' folder.


Extraction:

User can execute extraction on a file by right clicking it and selecting ``Extraction'' from pop-up menu.

The extraction output file is json file, which is named as the file name. For example, in above figures, user runs extraction on file ``browndog.png'', and after completion, extraction output file will be written as ``browndog.json''in the same working directory.
Extract Similarity among Image Files:
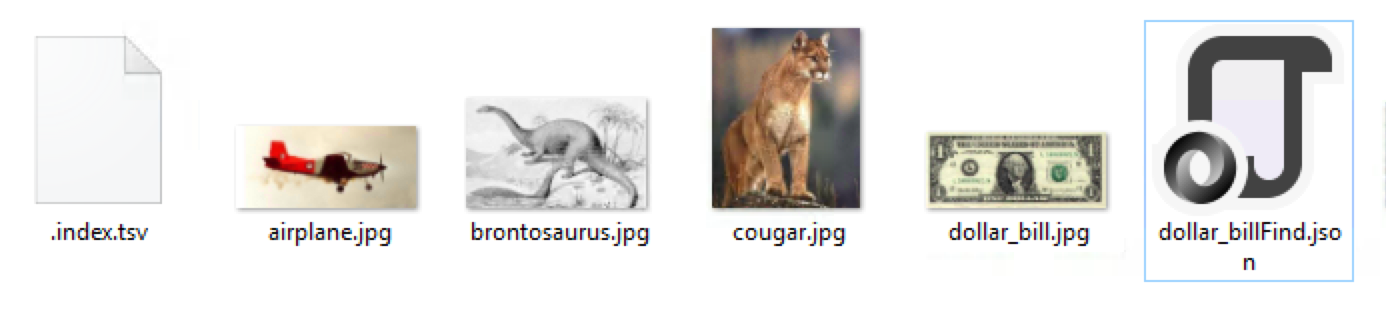
User can index image files in a target folder, and then pick an indexed image and right click ``Find Similar'' to extract the similarity result from all indexed images.
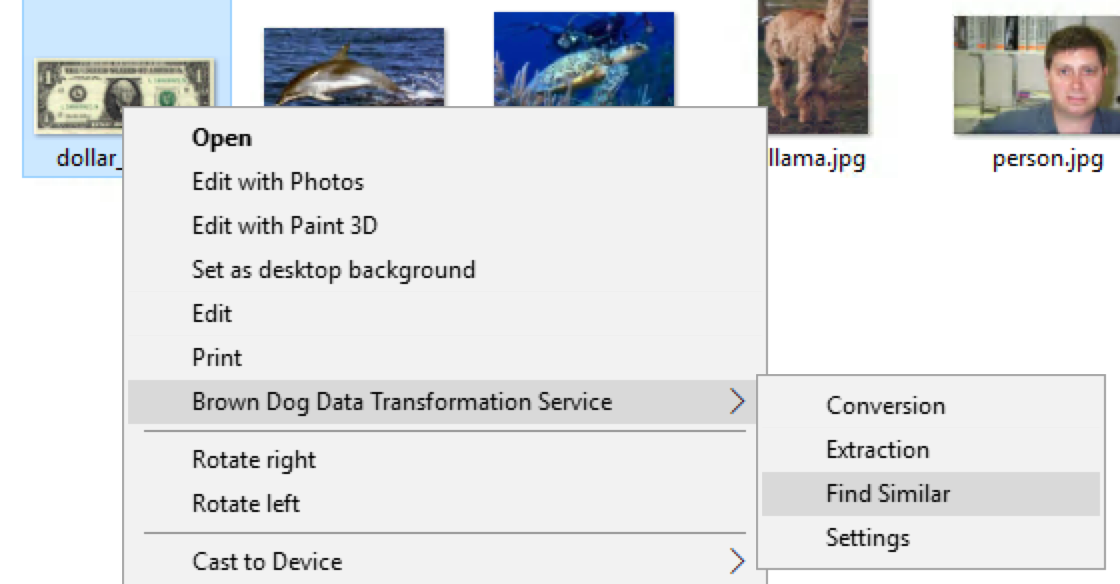
Above figures show how user can execute ``Find Similar'' among images under ``caltech101'' folder. First, user needs to do ``Index'' to index all images under ``caltech101'' folder (left figure), when indexing is done, a ``.index.tsv'' file will be generated under this folder. Then user can browser indexed images in ``caltech101'' folder and select an image and right click on it to execute ``Find Similar''. In this example, user selects an image file ``dollar_bill.jpg'' and the output file of ``dollar_billFind.json'' file will be generated under the same working directory.